Introduction to Docker – Part 3
This tutorial series will show you how to use Docker on a Linux computer. This part is dedicated to creating a Dockerfile.
The Dockerfile
In the previous tutorial we noticed that every time a new container is created, any changes made in previous containers based on the same image are lost, because the base image itself never changes.
To make permanent changes, we create a custom image on top of the existing one. That is exactly what the Dockerfile is for.
A Dockerfile is a plain-text file that lists the instructions needed to build a new Docker image. Any container launched from that custom image will already include everything you specify in the Dockerfile. Let’s see how to write one in detail.
Preparing the files
The following example shows how to create a Dockerfile for an older Ubuntu version—Ubuntu 20.04.
You can check your current host version with cat /etc/os-release:
Example:
mowibox@chroma:~$ cat /etc/os-release
PRETTY_NAME="Ubuntu 24.04.2 LTS"
NAME="Ubuntu"
VERSION_ID="24.04"
VERSION="24.04.2 LTS (Noble Numbat)"
VERSION_CODENAME=noble
ID=ubuntu
Here, the host is running Ubuntu 24.04. We will now create an image based on Ubuntu 20.04.
Choose a location and create a folder (manually or with mkdir <folder_name>).
In this example, we’ll call it “docker_folder/”.
Inside that folder:
- Create a Dockerfile at the root.
- Create another folder and place any file you like inside.
In this example we’ll create “my_folder/” and add a Python file
my_python_file.py:
1# A simple display
2print("Hello, World!")
3
4# An addition just as simple (I hope)
5a = 1
6b = 2
7c = a + b
8print(f"{a} + {b} = {c}")
Your tree should look like this:
docker_folder/
├── Dockerfile
└── my_folder/
    └── my_python_file.py
Dockerfile contents
Open Dockerfile in your favorite editor (e.g.,Visual Studio Code) and add:
 1FROM ubuntu:20.04
 2
 3# Update Ubuntu and install dev tools
 4RUN apt-get update && apt-get upgrade -y
 5RUN apt-get install -y git python3-pip nano
 6
 7# Clean up temporary APT files
 8RUN rm -rf /var/lib/apt/lists/*
 9
10# Copy the folder into the container
11COPY my_folder/ my_image_folder
12
13# Create a working directory
14RUN mkdir -p /workspace
Here is the line-by-line explanation of what the Dockerfile does:
1FROM ubuntu:20.04FROMsets the base image: here Ubuntu 20.04.
4RUN apt-get update && apt-get upgrade -yRUNexecutes a given command. Here we update package lists and upgrade installed packages.
Why the ‘-y’ flag?
The -y flag automatically answers “yes” to any prompts, making the process fully unattended.
5RUN apt-get install -y git python3-pip nano- This line installs some dev tools:
git: for GitHub/GitLab.python3-pip: for installing Python packages.nano: for in-terminal text-editing.
8RUN rm -rf /var/lib/apt/lists/*- This line removes APT cache to keep the final image slim.
11COPY my_folder/ my_image_folder- Copies “my_folder/” from the host into the container as “my_image_folder/”.
Heads-up
If your host folder is not named “my_folder/”, adjust this line accordingly!
14RUN mkdir -p /workspace- This line creates a “/workspace” directory at the container root.
Building the image
With the Dockerfile ready, we can proceed with building the Docker image.
Open a terminal at the location of your Dockerfile, and run the command :
docker build -t <image_name> .Replace <image_name> with whatever name you like.
The dot . means “use the current directory as the build context.”
You’ll see each Dockerfile layer executing one after another:
mowibox@chroma:~$ docker build -t my_custom_ubuntu .
[+] Building 8.1s (5/10)
 => [internal] load build definition from Dockerfile
 => transferring dockerfile: 355B
 => [internal] load metadata for docker.io/library/ubuntu:20.04
 => [internal] load .dockerignore
 => transferring context: 2B
 => [1/6] FROM docker.io/library/ubuntu:20.04@sha256:8feb4d8ca5354def3d8fce243717141ce31e2c428701f6682b
 => resolve docker.io/library/ubuntu:20.04
 => sha256:8feb4d8ca5354def3d8fce243717141ce31e2c428701f6682bd2bfae15388214 6.69kB / 6.69kB
 => sha256:c664f8f86ed5a386b0d9818f81714e21a8b9c73f568c4bea56aa179d54a 424B / 424B
 => sha256:b7ba04fd9aa0c77fc0cc7bf993fd6946545983d9096126e5a4f45d713 2.30kB / 2.30kB
 => sha256:13b7e930469f6d3575a320709035c6ac6fcf5485a76abcf03d1b92a64c09c2476 27.51MB / 27.51MB
 => extracting sha256:13b7e930469f6d3575a320709035c6ac6fcf5485a76abcf03d1b92a64c09c2476
 => [internal] load build context
 => transferring context: 77B
 => [2/6] RUN apt-get update && apt-get upgrade -y
 => # Fetched 35.7 MB in 2s (15.0 MB/s)
 => # Reading package lists...
 => # Building dependency tree...
It may take some time to build the image. Once finished, you’ll be able to see your new image in the list of images with (docker images).
Example :
mowibox@chroma:~$ docker images
REPOSITORY         TAG      IMAGE ID       CREATED          SIZE
my_custom_ubuntu   latest   a67e56745215   43 seconds ago   980MB
Running the container
As in the previous tutorial, you can start a container of your custom image:
docker run -it <image_name>Example :
mowibox@chroma:~$ docker run -it my_custom_ubuntu
root@3d18c90647a5:/#
You can check that you are in a container based on Ubuntu 20.04 with the command used at the beginning of the tutorial:
Example:
root@3d18c90647a5:/# cat /etc/os-release
NAME="Ubuntu"
VERSION="20.04.6 LTS (Focal Fossa)"
ID=ubuntu
ID_LIKE=debian
PRETTY_NAME="Ubuntu 20.04.6 LTS"
VERSION_ID="20.04"
Check your folders with the ls command:
root@3d18c90647a5:/# ls
bin   dev  home  lib32  libx32  media  my_image_folder  proc  ros_entrypoint.sh  sbin  sys  usr  workspace
boot  etc  lib   lib64  log     mnt    opt              root  run                srv   tmp  var
If everything goes well, you should see “my_image_folder/” and “workspace/”.
If you navigate to the “my_image_folder/”, you’ll find the Python file that you can run:
root@3d18c90647a5:/# cd my_image_folder/
root@3d18c90647a5:/my_image_folder# ls
my_python_file.py

root@3d18c90647a5:/my_image_folder# python3 my_python_file.py
Hello, World!
1 + 2 = 3
Since nano was previously installed on the image, you can also edit the file and see that it’s identical to the one created on your machine:
nano my_python_file.py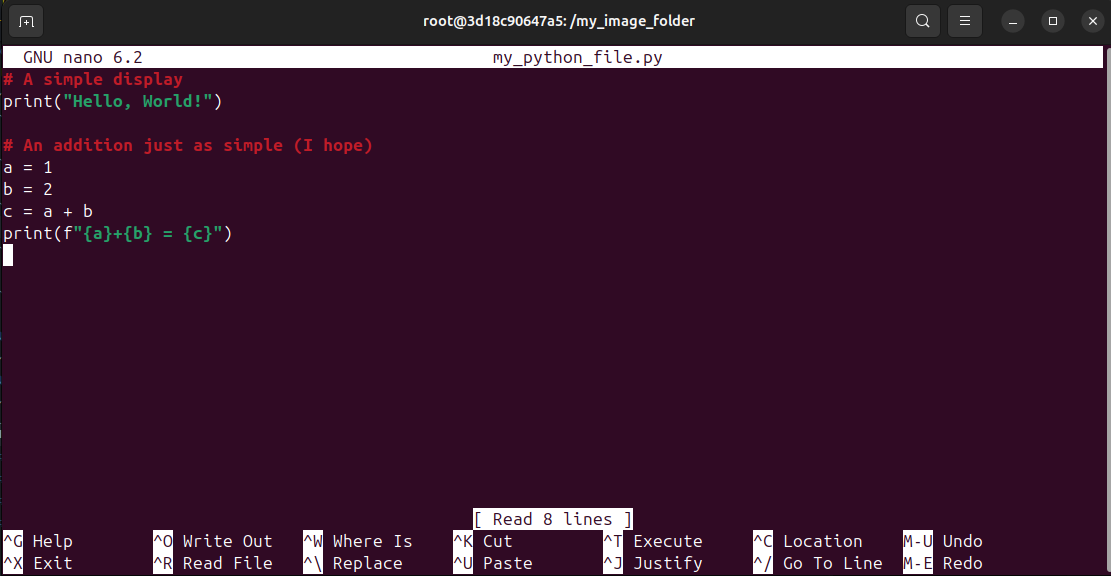
Add the modifications you want, save, and rerun:
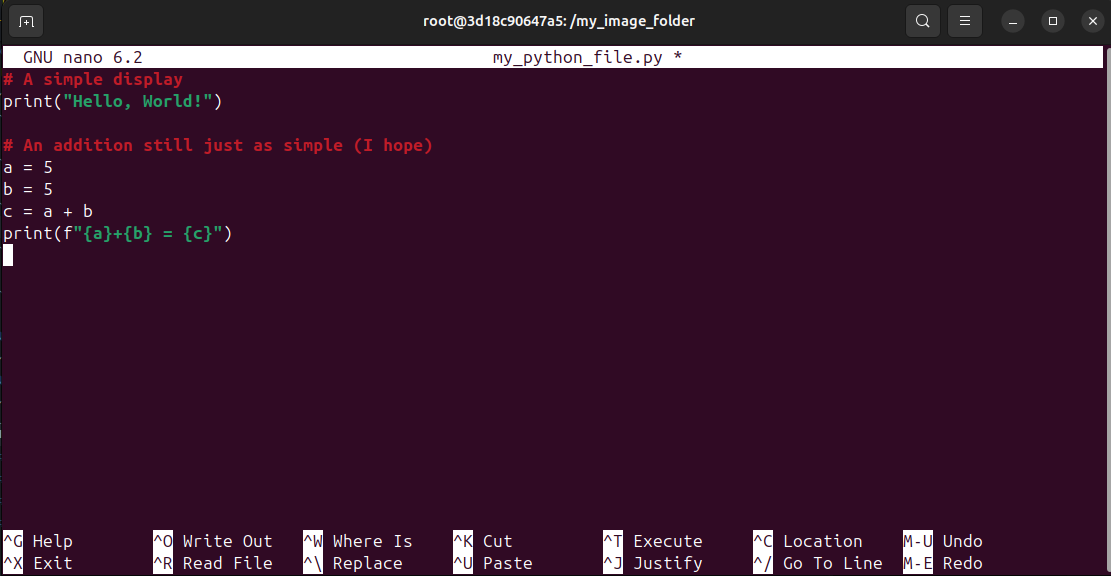
root@3d18c90647a5:/my_image_folder# python3 my_python_file.py
Hello, World!
5 + 5 = 10
Your custom image works and is ready to share—simply hand over the Dockerfile and build it on any machine!
Going further
With this tutorial, you’ve been able to grasp the basics of Docker—image creation, container execution, and customization via a Dockerfile. But Docker doesn’t stop there: there are plenty of other features that can be explored as required.
You can, for example, share folders/files directly between the host machine and the container in real time, rather than making a copy.
We also note that in a Docker container, you are defined as root by default, so there’s no need to add sudo to your commands (apt install instead of sudo apt install). Having full rights can pose security problems, so it’s recommended to define unprivileged users with the USER command.
RUN useradd -m username
USER username
Finally, here’s an excellent video from Articulated Robotics on how to craft a good Dockerfile: YouTube
Credits
- Writer: Ousmane THIONGANE
- Latest update: June 2025
- Reviewer: