Set up an headless Raspberry Pi
Usually, a Raspberry Pi is set up using a screen, a keyboard, and a mouse. But maybe you don’t have that equipment — or simply don’t need it for your project. For example, if your project doesn’t require a graphical interface, it’s more resource-efficient to skip the screen altogether.
This tutorial offers an alternative method to configure your Raspberry Pi without any external peripherals, by installing Ubuntu Server and accessing it remotely via SSH.
Requirements
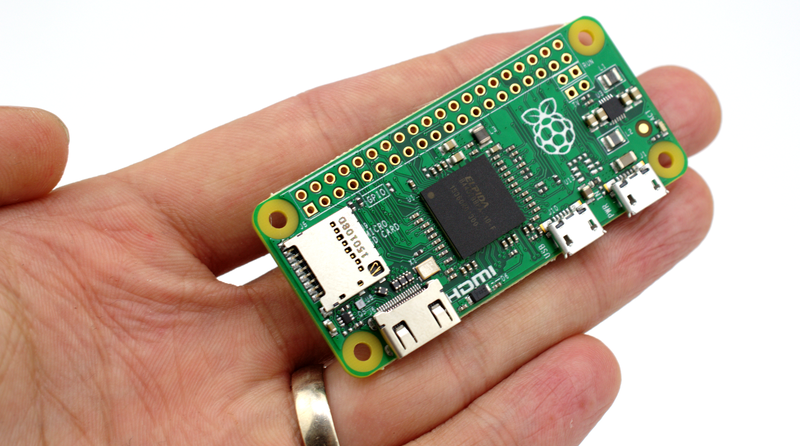
- A Raspberry Pi: This tutorial uses a Raspberry Pi Zero 2W, but it can easily be adapted to other boards such as the Raspberry Pi 4, 5, etc.
- A power supply for your Raspberry Pi.
- A computer running Linux — for example, Ubuntu.
- The Raspberry Pi Imager software.
- A microSD card: The size depends on your use case, but 8–16 GB is a reasonable minimum to get started.
- An SD card reader: It can be external, but some computers have one built in.
Preparing the SD Card
Here’s the step-by-step guide to prepare your SD card:
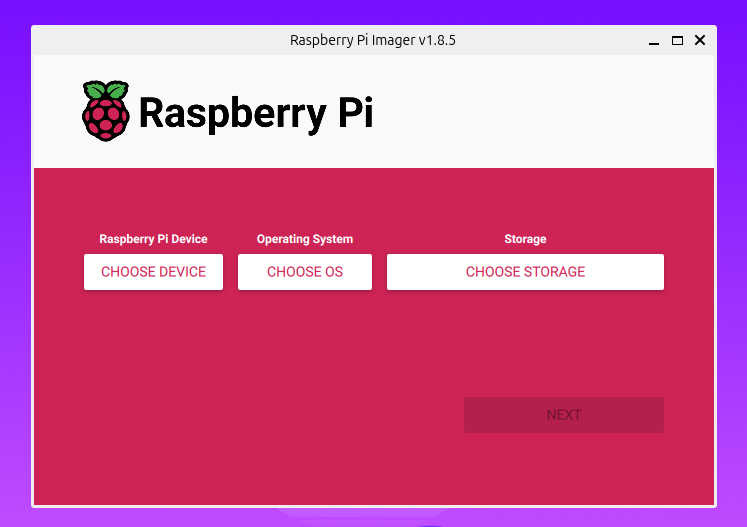
- Insert the SD card into your computer and launch Raspberry Pi Imager. You should see an interface similar to this:
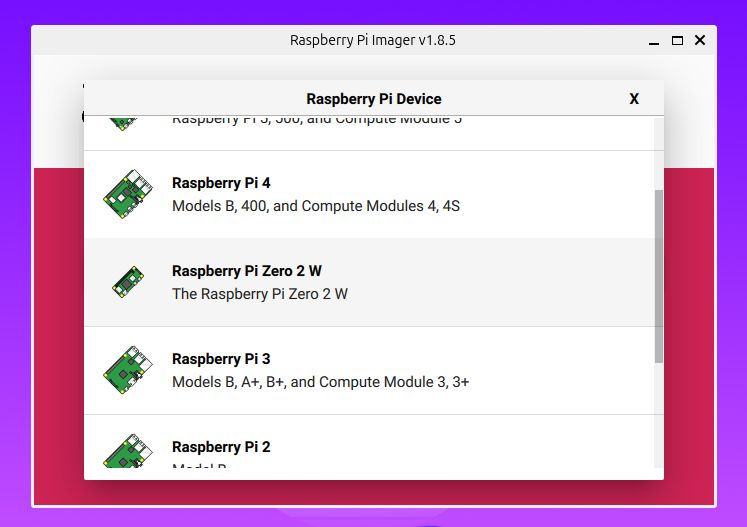
- Start by selecting your Raspberry Pi model via “Choose Device”:
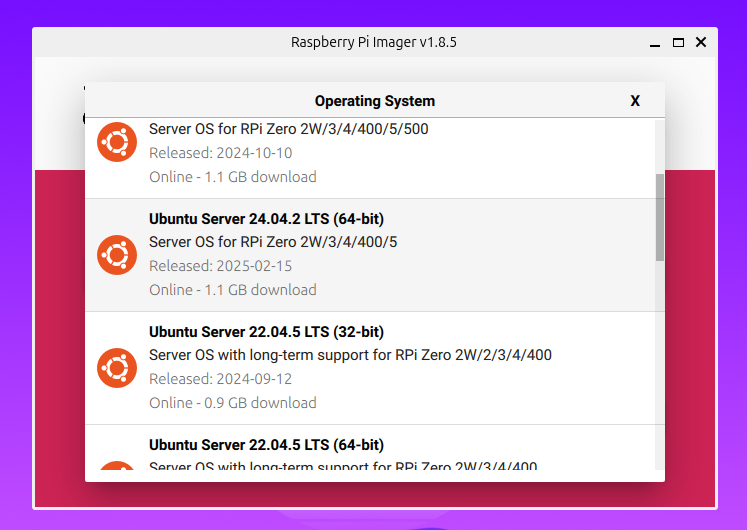
- Click “Choose OS” to pick the operating system to flash onto the SD card. Select “Other general-purpose OS”:
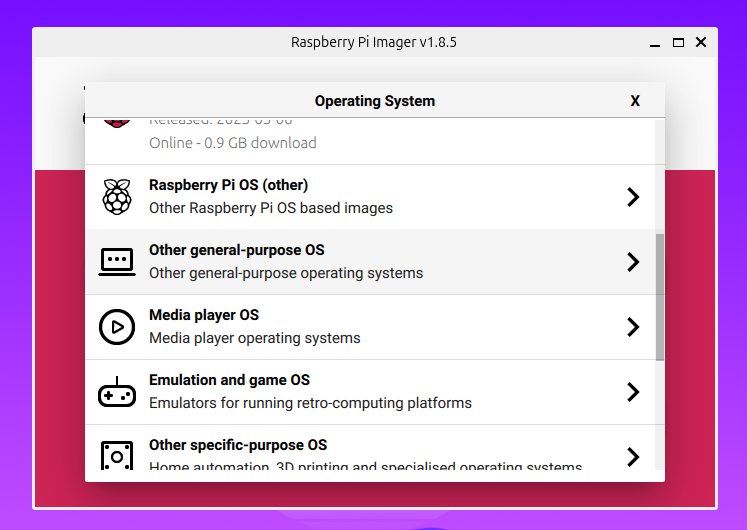
- Among the available Ubuntu versions, pick a “Server” version — these don’t include graphical interface packages and dependencies, which is perfect since we won’t be using a screen:
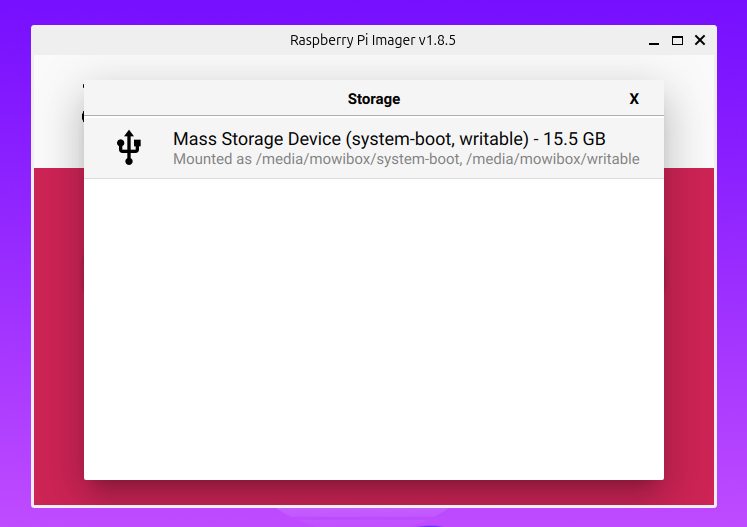
- Then select the SD card as your storage location. If it’s the only external storage connected, it should be easy to spot.
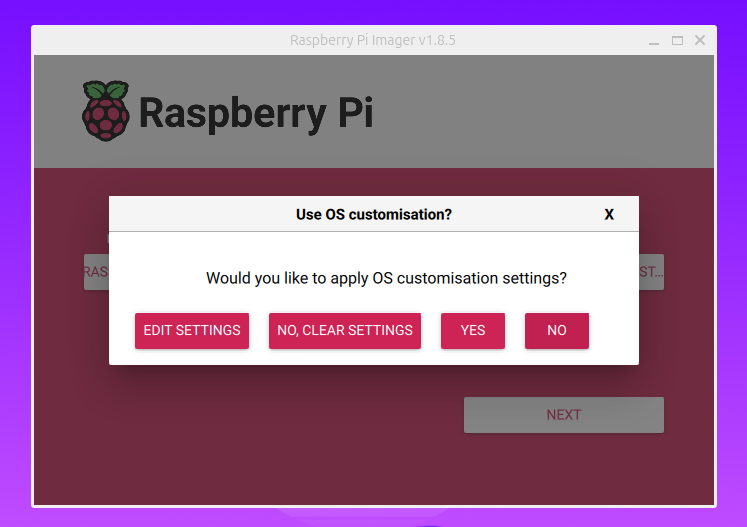
- Click “Next” — the software will ask whether you want to configure settings before writing the OS. Click “Edit Settings”.
- You should see a window similar to this one:
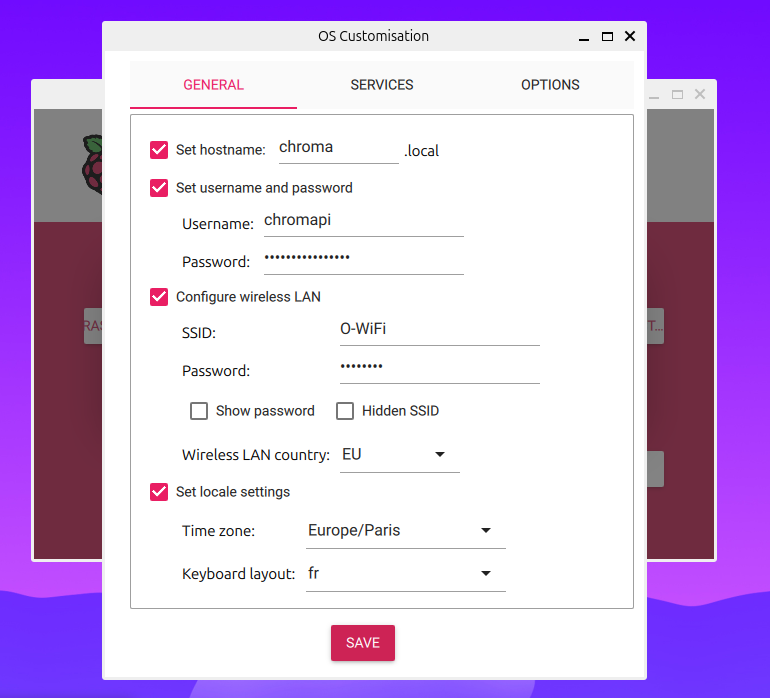
Adjust the following settings according to your needs:
- Hostname — you can leave the default value.
- Username and password for logging into the Pi.
- Wi-Fi credentials the Pi will use at boot.
- Locale and keyboard layout.
Tip
Instead of connecting the Pi to your home Wi-Fi, you can connect it to your phone’s mobile hotspot. That way, you can use your Pi anywhere!
Warning
Make sure your chosen Wi-Fi network uses the 2.4 GHz band — Raspberry Pis cannot connect to 5 GHz networks.
- Finally, go to the “Services” section and enable SSH. Leave the authentication method set to “Use password authentication”.
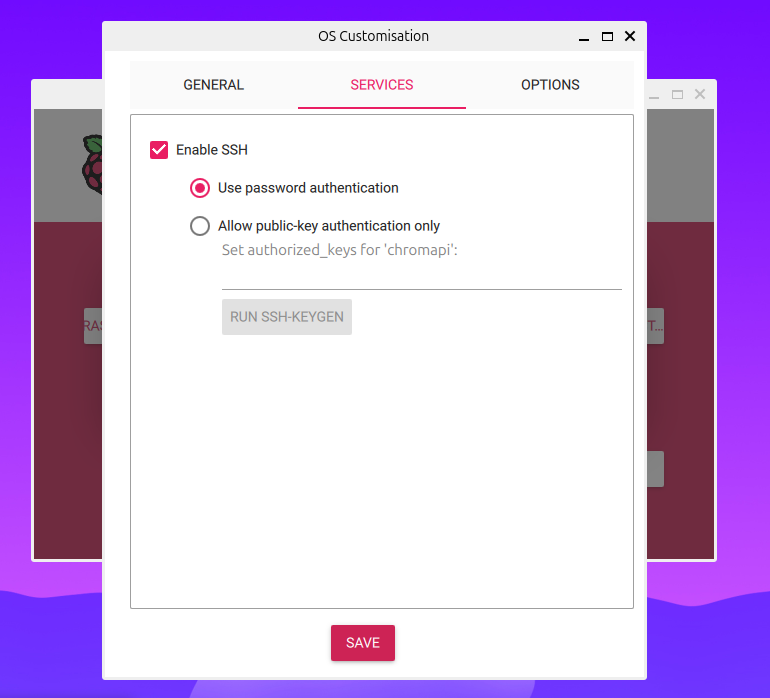
Click “Save”, then “Yes” to begin flashing the OS to the SD card. Once the process is complete, remove the SD card and insert it into your Raspberry Pi.
Plug the Pi into a power source. A green LED should blink. Now, let’s try to connect to it from your computer.
Connecting to the Raspberry Pi
Connecting via SSH
SSH (Secure Shell) is a secure protocol that lets you remotely access and send commands to another computer. That’s how you’ll control your Raspberry Pi from your PC — no screen or keyboard required. You can connect to it with:
ssh chromapi@chroma.localReplace chromapi and chroma with the username and hostname you defined in Raspberry Pi Imager.
The first time, you’ll be asked to confirm the authenticity of the device. Type “yes” and enter the password you set during setup.
If everything went well, you should see a welcome message like this:
Welcome to Ubuntu 24.04.2 LTS (GNU/Linux 6.8.0-1018-raspi aarch64)

 * Documentation:  https://help.ubuntu.com
 * Management:     https://landscape.canonical.com
 * Support:        https://ubuntu.com/pro

 System information as of Sat Jul 12 01:27:32 CEST 2025

  System load:  0.26              Temperature:            38.6 C
  Usage of /:   7.4% of 28.69GB   Processes:              139
  Memory usage: 47%               Users logged in:        0
  Swap usage:   0%                IPv4 address for wlan0: x.x.x.x

...
chromapi@chroma:~$
Congratulations! You’re now connected to your Raspberry Pi. A few final configuration steps remain before it’s fully ready.
Note
If you are unable to connect, verify that you are connected to the same network as the Raspberry Pi and that you are using 2.4 GHz Wi-Fi.
System Configuration
- Update Ubuntu packages (this may take a while):
sudo apt update
sudo apt upgrade
Ubuntu doesn’t come with the raspi-config tool found in Raspberry Pi OS, so you’ll need to install it manually:
sudo apt install raspi-config
sudo raspi-config
This will bring up a configuration menu where you can enable or disable various Pi-specific options.
Here are a few options I often enable:
- Interface options > Legacy camera
- Interface options > SPI
- Interface options > I2C
- Interface options > Serial Port
- Interface options > Remote GPIO
- Performance options > GPU Memory > 128 MB
Save your changes and reboot your Pi.
And that’s it! Your Raspberry Pi is now ready to use — no screen required!
Credits
- Writer: Ousmane THIONGANE
- Latest update: July 2025
- Reviewer: